How to repair a gel coat chip or scratch on your boat?
Maintaining the appearance and structural integrity of your boat is crucial, especially when it comes to minor damages like chips in the gel coat. While using a gel coat repair kit is often the most convenient option, it's possible to repair these imperfections without one. This tutorial will guide you through the steps to repair a chip on your boat's gel coat using basic tools and materials that you might already have or can easily acquire. If you don't buy a all-in-one boat gel coat repair kit, you will need these accessories:
Materials and Tools You Will Need:
- Marine gel coat (available in marine supply stores)
- Sandpaper (grits ranging from 320 to 600)
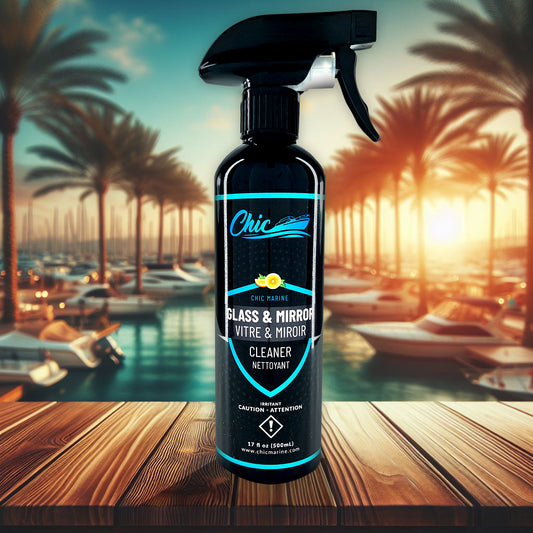
- Acetone or marine cleaner
- Mixing cups and stir sticks
- Masking tape
- Fine paintbrush or applicator stick
- Plastic or cardboard for mixing
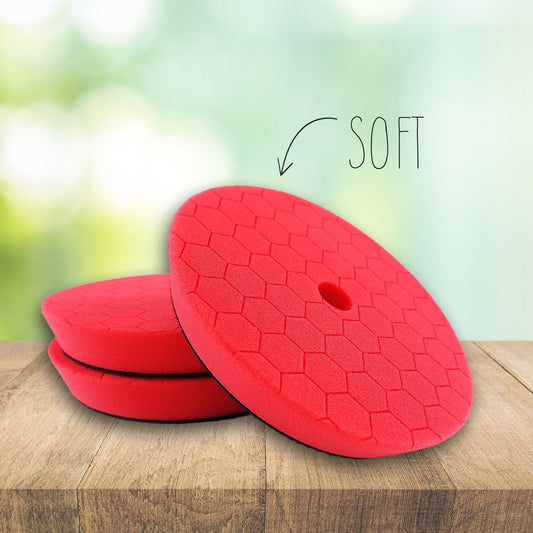
- Polishing compound
- Clean rags or microfiber cloths
- A putty knife or plastic scraper
- Safety gear (gloves, mask, and safety glasses)
Step 1: Clean the Damaged Area
The first step in repairing the chip is to clean the area thoroughly. Dirt, grease, and other contaminants can prevent the gel coat from adhering properly, leading to a subpar repair. Use acetone or a marine cleaner to wipe down the chipped area and the surrounding surface. This will remove any wax, oil, or dirt. Make sure to let the area dry completely before proceeding to the next step.
Step 2: Sand the Edges of the Chip
Next, you'll need to smooth out the edges of the chip. Use 320-grit sandpaper to carefully sand around the chip, feathering the edges. This helps to remove any loose or jagged bits of gel coat and creates a slightly roughened surface, which will help the new gel coat adhere better. Be careful not to sand too much, as you only want to prepare the surface, not enlarge the chip.
Step 3: Mask Off the Area
Once the chip and surrounding area are prepped, use masking tape to protect the surrounding gel coat from accidental spills or drips. Apply the tape carefully around the chip, leaving only the damaged area exposed. This will ensure a clean, professional-looking repair once the new gel coat is applied.
Step 4: Prepare the Gel Coat Mixture
Now it’s time to prepare the gel coat. Depending on the type of gel coat you purchased, you may need to mix it with a hardener. Follow the manufacturer's instructions for the correct ratio, typically a small amount of hardener per ounce of gel coat. Mix the gel coat thoroughly on a clean surface, such as a piece of plastic or cardboard, until the color and consistency are uniform. Be mindful of the working time, as the mixture will start to harden after a certain period.
Step 5: Apply the Gel Coat
Using a fine paintbrush or applicator stick, carefully apply the gel coat mixture to the chipped area. Start by filling in the deepest part of the chip, then gradually build up the gel coat until it is slightly higher than the surrounding surface. This is important because the gel coat will shrink slightly as it cures. Use a putty knife or plastic scraper to smooth out the surface as much as possible. Work quickly but carefully, ensuring the gel coat is applied evenly.
Step 6: Allow the Gel Coat to Cure
After applying the gel coat, allow it to cure according to the manufacturer’s instructions. This could take anywhere from a few hours to overnight, depending on the temperature and humidity. It’s essential to let the gel coat fully harden before moving on to the next step, as premature sanding or polishing can ruin the repair.
Step 7: Sand the Repaired Area
Once the gel coat has cured, it’s time to sand the area to smooth out the surface and blend the repair with the surrounding gel coat. Start with 320-grit sandpaper and gently sand the repaired area. Gradually move to finer grits, such as 400, 600, and even 800, to achieve a smooth, even finish. Be patient during this step, as rushing can result in uneven or scratched surfaces.
Step 8: Polish the Gel Coat
After sanding, the final step is to polish the repaired area to restore the gel coat’s shine. Apply a small amount of polishing compound to a clean rag or microfiber cloth and rub it into the surface in circular motions. Continue polishing until the area is glossy and blends seamlessly with the surrounding gel coat. Wipe away any excess compound with a clean cloth.
Step 9: Inspect the Repair
Once the polishing is complete, carefully inspect the repaired area. The chip should be filled, smooth, and nearly invisible. If you notice any imperfections, you may need to repeat the sanding and polishing steps. However, in most cases, a single application of gel coat will be sufficient to restore the area to its original condition.
Step 10: Apply a Protective Wax
To protect your newly repaired gel coat, consider applying a coat of marine wax to the entire surface. This will not only give your boat a brilliant shine but also provide a layer of protection against future damage. Use a soft cloth to apply the wax in small sections, buffing each area to a high gloss.
Conclusion
Repairing a chip in your boat’s gel coat without a dedicated repair kit is entirely possible with the right tools and materials. By following these steps, you can achieve a professional-looking repair that restores your boat’s appearance and protects it from further damage. Remember, patience and attention to detail are key to a successful gel coat repair. With a little effort, your boat will be back in top condition, ready for your next adventure on the water.
View the All-in-one Gel Coat Repair Kit